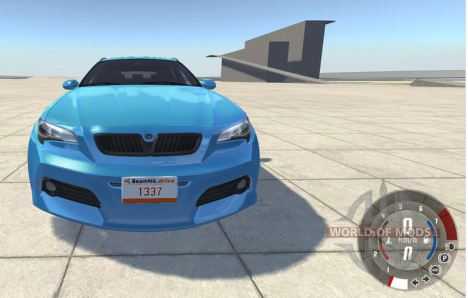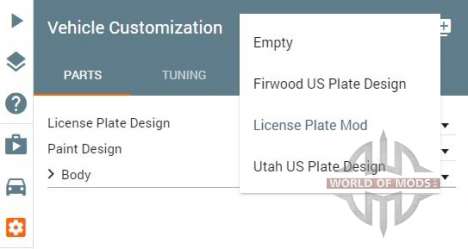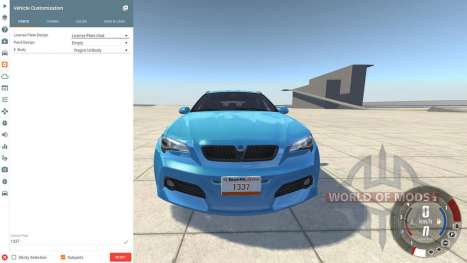
All you will need to mod a license plates in the game, is a image and a text editors. We were use GIMP and notepad++.
Preparing
To create a properly working license plate mod, we need at least three files: jbeam file, json file and a texture file.
Jbeam file contains all relevant information about your license plate and designates the path to the corresponding json file.
At the same time the json file contains the path to all the texture files you are going to use in your mod.
Moreover, you will need to have at least one background texture for your license plate.
Creating a mod
Preparing file structure
Go to following path:
"C:\Users\%USERNAME%\Documents\BeamNG.drive\mods\unpacked"
Create several folders to match up the corresponding file path of the mod. In the end it should looks like this:
"C:\Users\%USERNAME%\Documents\BeamNG.drive\mods\unpacked\username_mod\vehicles\common\licenseplates\username_license_plate\"
Change the bold parts to your mod's name. Just make sure that the name is unique, to avoid problems with mods from other users or official content of the game.
Names username_mod and username_license_plate define the name of your mode within the game.
Creating texture
Open GIMP or any other image editor. We are going to create the background of our license plate. Texture for the background have a resolution of 512 by 256 pixels - use only this resolution.
Use this template to create your own background for the license plate. Remember that you need to create a template without the text on it. We will add the text later.
Creating json file
After we finished creating the texture, we need to create another json file that will provide the connection between the liccense plate and texture.
{


"name" : "username_license_plate",


"version" : 1,


"data" : {


"size" : {"x" : 512, "y": 256},


 "text" : { "x" : 0.5, "y" : 0.65, "scale" : 1, "color" : "rgb(187, 61, 0)", "limit" : 8},


"diffuse" : {


"spriteImg" : "vehicles\common\licenseplates\default\platefont_d.png",


"backgroundImg" : "vehicles\common\licenseplates\user_license_plate\user_license_plate_background_d.png",


"fillStyle" : "black"


},


"bump" : {


"spriteImg" : "vehicles\common\licenseplates\default\platefont_n.png",


 "backgroundImg" : "vehicles\common\licenseplates\default\licenseplate-default_n.png",


"fillStyle" : "rgb(0,0,255)"


},


"specular" : {


"spriteImg" : "vehicles\common\licenseplates\default\platefont_s.png",


"fillStyle" : "rgb(233,233,233)"


}


}


}
Next we need to configure our file:
name: can be whatever you want.
data:
- text: determines the appearance of the text. Change the value for "X" and "Y" to define the text location. Change the "scale" setting to adjust the size of the text and the parameter "color" to change the color of the text. Option "limit" specifies the maximum number of characters on your license plate.
- diffuse/bump/specular: here you need to describe where are the various texture files. You can use up to three different map types: - diffuse-, -bump-, -specular-.
- spriteImg/backgroundImg: determine what textures will be used for text (spriteImg) and background (backgroundImg).
- fillStyle: determines which color will be used until the options spriteImg/backgroundImg not defined.
Creating jbeam file
{


"USERNAME_license_plate_2_1": {


"information":{


"authors":"BeamNG",


"name":"License Plate Mod",


"value":50


},


"slotType" : "licenseplate_design_2_1",


 "licenseplate_path" : "vehicles/common/licenseplates/user_license_plate/user_license_plate.json"


}


}- Change the part name: first of all, change the part name in the second line to something unique.
- Adjust the "information" section: the parameter "authors" specify the author's name, and the "name" parameter is the name of your license plate. This name will appear in the game.
- slotType: this setting MUST be "licenseplate_design_2_1". This parameter is crucial and has a direct relationship with the root jbeam file of the vehicle. The value "_2_1" defines the ratio of the plate.
- licenseplate_path: specifies the path to the appropriate json file.

