
Content of the article
New South
Women's suffrage Issues
American distillation
Honest misconception
True love Course
Calling for forgiveness
Sodom? Back to Gomorrah
Advertising: new American art
Horse Meat for dinner
Magic for sports
Excellent tobacco Flavor
Lower-class Friends
Blessed are the peacemakers
Short walk through the beautiful city
Blood feud, past and present
Battle of shady Belle
New South
Start this mission by talking to Dutch at the new camp at Clemens Cove. He will ask you to follow him to the stream to go fishing with him and Hosea. Dutch mentions that this is the "old guard", and all three begin to feel nostalgic for the old days when they go to the stream. He also says he doesn't want anyone to create problems or use weapons in Rhodes.
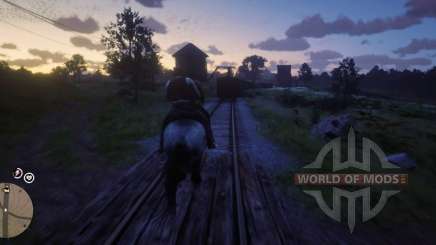
However, the other men in the cage are freed and run away. You go after them with the Sheriff and he asks you not to shoot them. When you jump on the train, be ready to repel the attack during a short video.
After you push him off the train, chase the rest of the Anderson guys. When you chase him, the Deputy will stop the train.
As soon as you find yourself in a car with meat carcasses, you will have to fight with a man. This is Anders Anderson - you can't miss a beat by fighting him to get a gold medal. The video will start after you roll it. On the way back, the Sheriff will tell you about Caliga Hall, owned by the Grays, and a notification will appear in the upper-left corner that this area is also closed to weapons and trouble.
When you get to town, stop at the Sheriff's office and take Anderson inside. The cut scene will start and your friend will be released. After that, Dutch will still offer to fish.
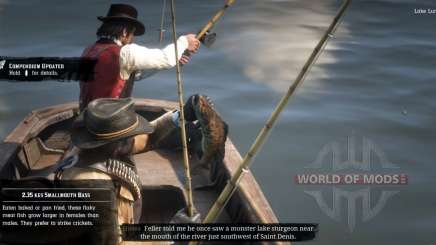
As soon as you get to the lake, get off your horse and go to the boats. Once you are in the water, go southwest to get to deeper water. When you go fishing, all three of you will remember more about the past. Put your fishing rod away when you're done and they'll follow suit. Return to the camp South along the coast.
As soon as you get close enough to the dock, another video will start. Dutch will announce that this place is a good fit for them. This will complete the mission.
Gold medal Checkpoints:
- Do not get a single hit in the fight with Anderson when passing the mission in RDR 2;
- Catch a fish.
Women's suffrage Issues
Start this quest, interrupting an argument between Sadie (Mrs. Adlers, the mission Criminals from the West), and Mr. Pearson. Sadie feels trapped in the camp and exclaims that she can hunt and shoot like men.
Arthur agrees to take her to the city of Rhodes, where they must send Mr. Pearson's letter and buy supplies for the camp. On the way, Sadie reads Mr. Pearson's letter with a certain amount of sarcasm.
When you get to Rhodes, go to the post office while Sadie buys supplies. When you're done (sending is free), meet her at the store.
She gives the grocer a lot of trouble, but soon you will be able to join her in the cart and go on the road.
But you will not have time to go far. Two men on horseback are intercepting you - they are Lemoyne raiders, and they want to be patched up.
Sadie shoots and tries to break away on his cart, but soon you will stop and start a proper shootout.
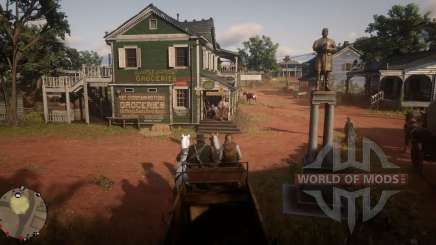
You will be surrounded by rocks that the raiders will use for shelter. You can also hide behind a tree in the West. Once you're done killing men with Sadie, Rob them and join her. You will return to the camp at Cape Klimena with warm and mutual respect for each other.
Gold medal Checklist:
- Repel an attack by raiders in less than 1 minute;
- Make 5 accurate shots to the head;
- Complete with at least 85% accuracy;
- Complete the mission without any health items.
American distillation
Start this 3 Chapter RDR 2 mission by going to the Sheriff's office in Rhodes. Dutch gave the Sheriff a hell of a lot of hard liquor and convinced him to take you in.
You both agreed to help close down several illegal distilleries that produce moonshine nearby, run by the Braithwaites.
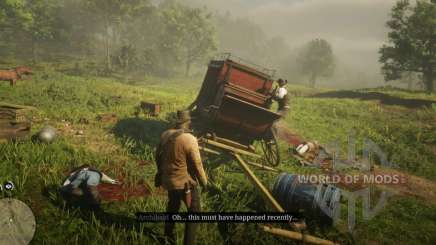
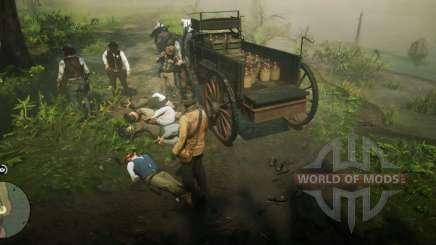
Along the way, you will see a destroyed wagon-most likely the work of the Lemoyne Raiders. Inspect the wreckage.
Now, when you return to your cart, you will rule. Once you reach your destination in the Bay, you will stop. You can change weapons before approaching, and as soon as you are ready, follow Archibald.
Stay in a squatting position with men. They will allow you to choose how you want to catch them off guard. We go to the left.
The Left path
Keep in mind that if you are noticed, you will fail the mission.
Prepare your lasso. Sneak up on the guy in the back of the van on the left and disable him, then kick him. One of his partners will help tie him up.
Sneak across the bridge and grab the man's lasso at the distillery on the river. Knock him out and take him to the cart. Your friends will also catch a few people.
Now go back to the distillery and place the dynamite in the equipment without lighting it. Choose a place that you can see, go back across the bridge, and then shoot dynamite to blow up the equipment.
As soon as the explosion breaks out, the raiders will appear, ready for battle. They are based in a camp South of where you are - head there immediately.
You can't get any damage, so be careful. You also need to make 10 accurate head shots while maintaining 70% accuracy. Stand behind, taking cover, allowing your teammates to protect you while you aim.
As soon as you clear the raider camp, loot the bodies. Don't worry, you have time, and it's definitely worth it. You will find many valuable items that you can sell in Rhodes.
To earn gold, you need to win the race. Mark the camp on your map and take a straight line. But be careful - don't bump into trees too many times, and you'll be fine (and the horse, too).
When you return to the camp, whether you defeat Dutch or not, the mission will be completed. Abigail will approach you and ask you to join Hosea for the start of a new mission-New American art.
Gold medal Checkpoints:
- Go unnoticed;
- Make 10 accurate head shots;
- Overtake Dutch on the way back to the camp.
Honest error
Start this mission by talking to Molly at the camp. A short screensaver will start with Molly, who will tell you about Dutch. However, the uncle interrupts you and arms you, Charles, and bill to commit the robbery.
Unfortunately, communication with Molly will have to be postponed. You will be forced to ride with the guys to steal a batch of paychecks. Once you get to your destination, put on a bandana or mask to disguise yourself. Your friends will attack the van and make it stop. The men in the van say they are working with Leviticus Cornwall and he will not allow this cargo to be stolen.
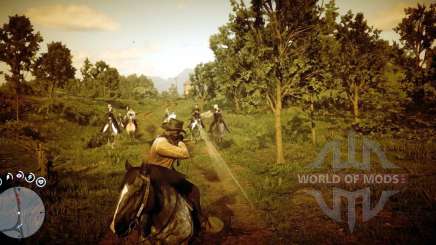
Although this is not included in the gold medal requirements, throwing dynamite behind you is a quick and easy way to get your pursuers off their tail. Don't worry, you will have more options later on during the mission.
Once you leave most of them behind, you will find yourself in a small house with a barn. You and your friends will stop there, sending the horses on their way, and hide in the barn.
Look through a crack in the wall to see what's going on in the house. Soon they will send two men to look for you.
Your uncle will attract their attention, no matter how calm you are. A hot exchange of fire will break out. Take cover in the barn, leaning out to shoot. The rifle will serve you well here.
Eventually, your shelter will light up and you will be forced to run. In the forest, you will disperse, and you and your uncle need to hide behind rocks.
You will need to quietly destroy the next two opponents to be able to save your uncle and get a gold medal. Get the knives. When the pursuers are close enough, sneak behind them and carefully attack the one on the right. My uncle will try to take another, but it will be overloaded. Kill the man to save your uncle and complete the mission.
This will complete the quest. Now don't forget to loot the bodies before you leave the area - they have a lot of valuable trophies.
When you return to the camp, Dutch and Micah will tell you about their plans. This opens two quests "horse Meat for dinner" and "the Aroma of excellent tobacco".
Gold medal Checklist:
- Save your uncle;
- Make 20 shots to the head;
- Complete with at least 80% accuracy;
- Complete the mission without any health recovery items.
The Course of true love
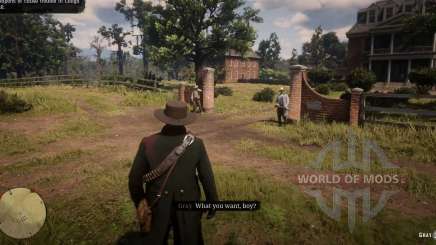
To begin this quest, go to gray's plantation at Caliga Hall, just outside Rhodes. You will find two men guarding the gate-go to them. They will allow you to pass after a short clip. Talk to the person sweeping the front door. It will prompt you to find Bo to get the answer to the question. Go to the North-East.
He asks Arthur for help and persuades him to pay. Beau tells you that Penelope likes to sit in a gazebo somewhere nearby, at the Braithwaite estate, and begs you to deliver her a gift and a letter.
Head southwest to reach the Braithwaite HOMESTEAD. As soon as you get close enough, drop the horse so you can sneak up on the house. See the map - it will show you exactly where to go. You need to be discreet and fast to meet the requirements.
You can see the guards and how they look at the map. Keep an eye on them when you're sneaking around. Fortunately, it's foggy, so it won't be too much of a hassle.
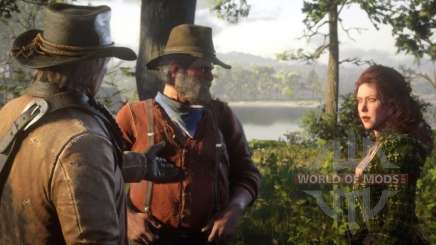
Penelope in the gazebo by the lake. Go to it to launch the screensaver. It turns out that she feels the same way and asks you to deliver the letter to him. You can follow the same path as here. Now go back to Bo with the letter.
Bo returned to the gray plantation, to the stables. On the way to it, the screen saver begins. He is concerned about what he is reading - Penelope is going to go to a women's suffrage rally.
Again, Bo asks you to help. He fears that women, including Penelope, will be killed for protesting. Follow Bo on the road to the city on horseback. Soon you will find a group of women gathering outside of Rhodes.

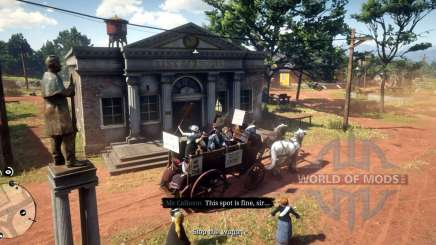
Go to his aid. Arthur will convince Bo to leave with him to avoid scenes. After a short trip to the burned-out battlefield, Bo will pay you by marking the end of the mission. You will receive $ 30 for completing this mission.
Calling for forgiveness
Talk to Lenny at the camp to start this mission. He tells you about a gang that fought on the side of the southerners in the civil war and still thinks the war is raging thirty years later. They are also arms dealers, and Lenny wants to take away their guns and a lot of money that he thinks they are sitting on.
Follow Lenny on horseback to Bolger's clearing. Along the way, he discusses how people here - in the South compared to the West-judge differently. When you approach the Bulgarian glade, you find an abandoned old Church, which Arthur makes a note of in his diary. He finds it interesting. Bolger return to the glade later to investigate.
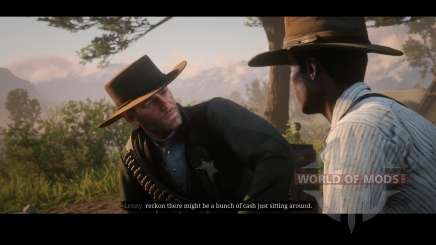
Sit down behind the wall opposite Lenny and discuss tactics. There are two options - shoot the dynamite or send Lenny.
It's easier to kill at least 10 Lemoyne raiders with a long - range rifle - one of the gold medal requirements-if you send Lenny.
A dynamite explosion initiates a battle with several victims on the Raider's side. Hold back a bit to make a few kills with a long-range rifle, then move forward using boulders and objects as cover, covering Lenny.
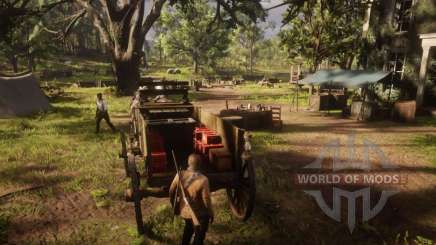
After you get rid of the other raiders, look for weapons around the building. The wagon with the horses attached to it on the right is filled with new rifles. Go to it to start the next part of the mission. Don't worry - you will still have enough time to search after that.
You have a lot of time if you are not trying to get a gold medal. You need to complete this mission in 11 minutes and 30 seconds.
Go into the house. There's not a lot of money at the bottom, but at the top you'll find Bourbon, money clips, a platinum watch, and a bag of cigarette cards. Use the Eagle eye to see where to look. There is also a chest in the front of the shed. Don't forget to Rob men as well.
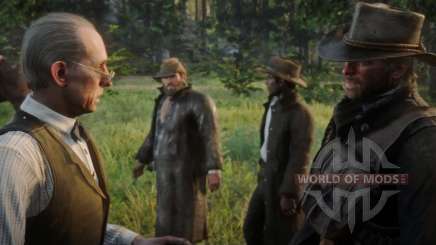
Attempts to defuse the situation will not do much good - they will still end up shooting you. Activate the Eye of death as soon as they start shooting to easily remove them. After you take care of them, you and Lenny will finish returning to the camp without any accidents.
Gold medal Checklist:
- Kill 10 raiders with a long-range rifle;
- Complete the mission in 11 minutes and 30 seconds;
- Complete with at least 70% accuracy;
- Complete the mission without restoring health.
Sodom? Back to Gomorrah
Go to bill in the camp to start this mission. He's in the cart with Karen. He and Lenny will debate with Arthur until he agrees to Rob a small Bank in a small town with them. When you are ready to go, Strauss will approach you and tell you that one of the debtors, Thomas Downes, has died, handing over his debt to his wife and children. He asks you to visit them when you have a moment.
Now go with the team. They will discuss the plan, and bill will complain about how easy it is for Arthur to get away with it when things go wrong, while the rest of us are punished with hell for it.
Karen does the job with cunning, successfully surprises Bank employees and patrons, opening up all the possibilities for you. Open the door to the right of Karen and make the cashier open the vault by pointing a gun at him. Hit him three times, but don't kill him to make him open the safe. Now decide whether to crack the safes or blow them up with dynamite. We decided to hack them. It's slower, but quiet.
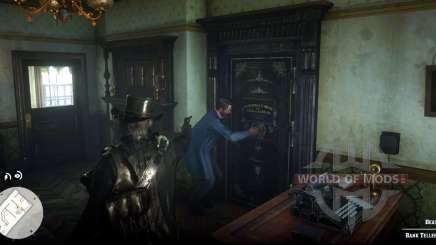
If you cross to the other side of an oncoming train, you will be safe. Arthur will tell everyone to go back to camp. You have a business that you want to do nearby - Mrs. Downes.
As soon as you arrive, the cut scene (screensaver) will start. Mrs. Downes's son will look at you with disrespect, and Arthur warns him that there will be no revenge. In any case, Mrs. downs brings you the money, and you go back to the camp.
In total, your team stole $ 20,000, leaving Arthur $ 2,500, and the gang saved $ 10,000. Check out the camp guide and updates if you haven't updated your camp yet - there's definitely enough money for that now.
Gold medal Checkpoints:
- Crack all safes (don't blow them up);
- Make 5 accurate head shots (mounted officers);
- Get to the ranch downs in 1 minute 55 seconds.
Advertising: new American art
Start the first part of this mission by talking to Abigail at the camp. Most likely, it will approach you if you approach it. She will tell you to meet Hosea, who has just arrived from a camp in the northeast, to do something about this moonshine.
Head to Hosea-it is marked on the map. Hosea is going to go to the moonshiners-Braithwaites, and demand money from them. Take a cart full of moonshine to the plantation.
The owner of the house will appear, and she and her family are not happy with your offer. You find that she usually sells moonshine for $ 1 a bottle, and Hosea wants 50 cents each as advertising fees.
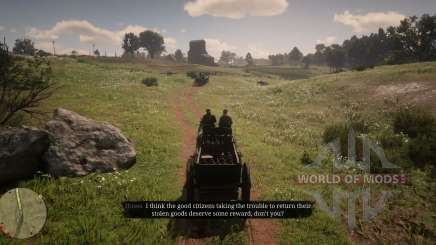
You agree and go with Hosea to the saloon. After you've bribed two men to leave, you go in and start handing out drinks, as promised. After a while, a short screensaver will start showing how the city is getting drunk and having fun.
Unfortunately, it doesn't last all night. After a while, Lemoyne Raiders appear, accusing Arthur and Hosea of stealing alcohol. They are not wrong, but you deny it, and a fight ensues.
Be tactful during the shooting, to meet the requirements of a Gold medal. You need 5 head shots, you must maintain 90% accuracy, and can't use any health items.
Focus on how to kill the people that follow you, when Hosea leads you to a safe place. As soon as you do this, he will discuss returning the remaining bottles to miss Braithwaite as a peace offer.
Gold medal Checkpoints in RDR 2:
- Kill 5 riders in the saloon with a shot to the head;
- Complete the mission with at least 90% accuracy;
- Complete the mission without restoring health.
Horsemeat for dinner
To begin this mission, go to the entrance of gray's plantation. The guards will instruct you to return to the stables to meet John and Charles.
If you get close enough to the stables, you will see a short screen saver. Gray will ask you to steal Braithwaite's expensive thoroughbreds, and you can sell them for $ 5,000. At least if you bring them to a person in Clemens Bay, you can get 50 cents for every dollar for them.
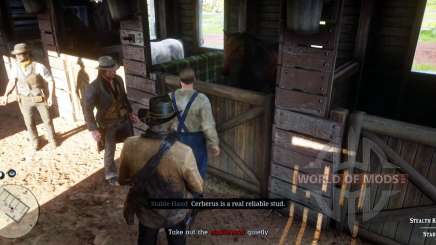
This time, Arthur will try to just talk politely. The groom will eventually fall for the trick and take you to the stables.
You must kill the groom to fulfill the requirement for the gold medal. While he is talking about horses, take your knife, approach him from behind and carefully strike.
After you've finished with the groom, all you have to do is calm the horse down. Your white horse is in the middle. Aim at the horse and calm it down. Pat the horse, and soon you will be able to take it out into the street.
As soon as you are ready to leave, a man notices you. Take a break so that they start chasing you. Go to the left or right of them, so as not to accidentally shoot one of the stallions or your friends.
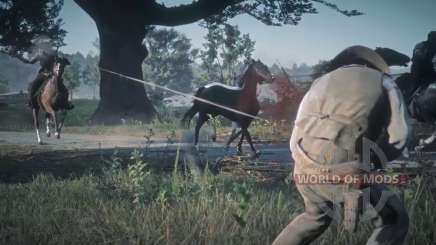
When the dramatic music changes to calm, switch to the lasso and get ready to catch the black stallion. You must catch a runaway stallion within 10 seconds of its release - so it's wise to be ready for it so you can throw a lasso right away.
You will find horse buyers easily enough - clay and Clive. However, they only offer $ 700. You reluctantly agree, but you will all feel foolish for trusting gray. Arthur's fee for this mission is only $ 116 - not what you expected.
After completing this mission, you will be able to sell horses to Clay and Clive at Clemens point. They will pay more for stolen horses, but less for purchased ones, compared to stables
Gold medal Checklist:
- Kill the groom with a knife;
- 5 accurate head shots at enemies;
- catch a runaway stallion in 10 seconds.
Magic for sports
To start this mission, talk to Dutch at the camp. He and Arthur will discuss Trelawny and what he may know about some bounty hunters. Bertei Charles, jump on a horse and go to Rhodes to find Trelawny. You will move to a small camp North of Rhodes, near the city fence.
Once you get there, you will notice that something is wrong. Find evidence inside the camp - someone was definitely there before you and searched the place. After collecting enough evidence, go back to Charles and get on the horse.
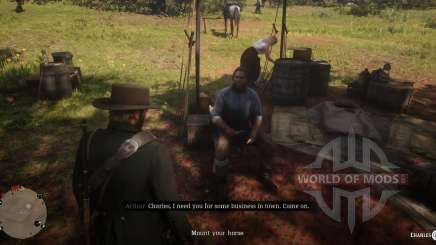
Arthur recognizes Trelawny's cane and provokes a fight. Beat them in battle, then interrogate the bounty hunter until he speaks. It turns out that "they" took him to a small room in the cornfields near the Braithwaite HOMESTEAD. Follow Charles to the next destination.
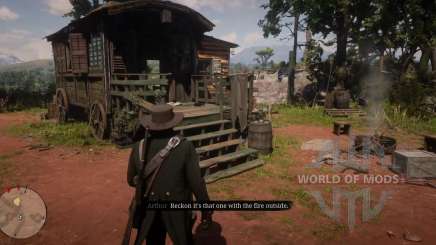
When you get home, two men will be dragging the battered Trelawny. They will leave him and run away, but you and Charles must find them, since you believe Trelawny told them some secret information during the torture.
Bandits run away to the cornfields. Follow them and be calm. You will see the birds fly away to the right - and rustle to the left. When they move, you will also see a marker flash on your minimap for a second - keep an eye on this and immediately head to it to quickly catch them.
The person on the right will drop his bag, and the search for the area that will be yellow will be highlighted. Arthur doesn't find it - rather, he finds you and takes you hostage. Fortunately, Charles is not only a good friend, but also with a knife - and saves you.
Excellent tobacco Flavor
Start this mission with a visit to the Braithwaite HOMESTEAD. The servant will show you where Hosea and Sean play cribbage and have tea with Catherine Braithwaite and her sons.
You will leave as soon as you have spoken to Sean, and go to the Grays at Caliga Hall in the van. Sean will ask Arthur if he's worried about being recognized. Arthur is hiding.
Sean clumsily makes his way to the guard and successfully reaches the barn. Once inside, Sean will continue his friendly game with Hamish.
When Sean is talking to the guard at the entrance to the barn, take this opportunity to silently kill him with a knife and get a gold medal.
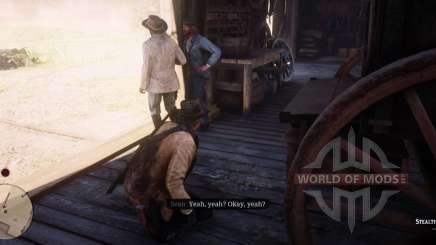
When you leave, you will hear the van driver discussing the payroll, but you both agree to take care of your original job first.
Sean will remove the man in front of you, and then tell you to pour a good amount of moonshine over the fields. They will appear as yellow spots on your map. Go through them, squatting, and continuously pour out the liquid. You will finish when the upper-right percentage reaches zero. You need to do this in 2 minutes and 20 seconds to get a medal.
Then go to Sean on the map. He is a gray dot in a small barn that is painted yellow. It will easily pull the guard out from the inside. Throw a burning bottle into the shed and everything will light up.
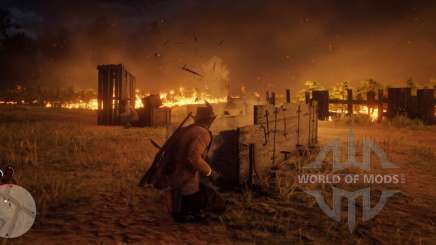
Sean will jump on the horse on the left, so jump on the horse on the right and follow him, killing the Greys. You can't lose Sean - keep up. Don't use health recovery if you want to get a gold medal. Remember the obstacles here - if you run into one of them and fall off your horse, you will get into trouble.
When you stop to talk to Sean, you'll see a fire in the background. If you want, go back to camp with Sean. Or you can explore the surrounding area.
Lower-class Friends
To begin this mission, talk to Trelawny at the camp. He asks Arthur if he ever robbed a stagecoach, and Arthur replies rather shyly. He wants you to go with him to Rhodes to talk to the cashier at the post office.
Go with Trelawny. When you get there, go with him to the post office, where he will start a conversation with Alden. Oddly enough, Alden calls Trelawny " Josiah." After a short conversation, you give Alden the cashier money in exchange for information about the stagecoach that Trelawny wants to Rob.
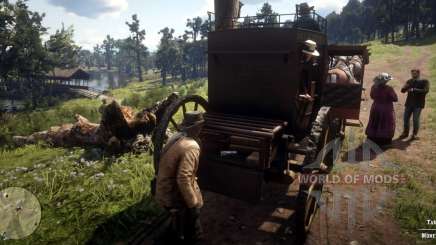
As soon as you reach the intersection point, Trelawny will hand you a tool to open the cash drawer discreetly while it distracts the rich lady, miss Damsen, and her driver.
It's easy to go unnoticed. Just be patient, follow the instructions below, and everything will be fine.
Follow the stagecoach a good distance until it stops. Wait at the road sign until miss Damsen gets out of the carriage, inspired by Trelawny's clever Ruse.
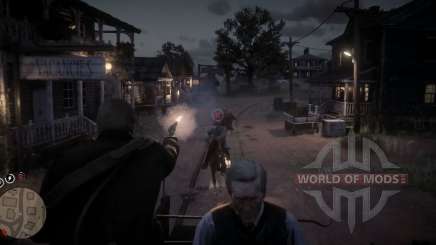
When it's over, return to Trelawny to receive the $187 reward.
Gold medal Checklist:
- Complete the mission without being seen;
- to be Completed within 8 minutes, 10 seconds.
Blessed are the peacemakers
Talk to Mika at the camp to start completing this mission in Red Dead Redemption 2. He will immediately tell you, "Blessed are the peacemakers..." and ask Mr. Pearson to tell Arthur and Dutch the story of Colm O'driscoll.
He says they want to make a deal, settle things like gentlemen. It takes a little convincing, but Dutch eventually relents and decides to go to meet the O'driscolls with Arthur and Micah.
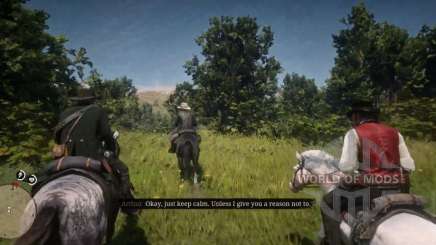
Dutch and Colm will talk as long as you keep your sights on the gun over Colm's head. Before they can come to any specific agreement, someone sneaks up behind you and hits you with the butt of a rifle.
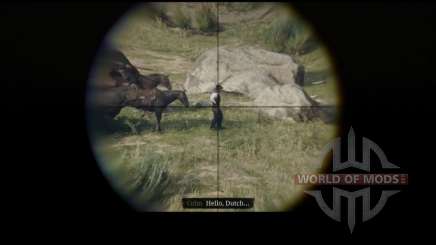
Arthur will be in a semi-conscious state. You will see that you are riding a horse by the river, and fall back into sleep. The next time you are fully awake, you will find yourself in a small room. Colm comes in, wakes you up, and leaves.
Detach yourself for one minute in order to fulfill the requirement of a gold medal.
When you come to your senses again, you find that you can move your bound ankles. Then you must heal the wound that Colm mentioned. Using a candle, turn the tool to completely heat all its sides. Then immerse it in the wound. This is a rather unpleasant sight, but it is necessary. Now pour gunpowder into the wound and light it - this should close the wound and disinfect it, but it gives Arthur a lot of pain.

To fulfill the requirements of the Gold medal, you must dare to attack the O'driscolls, collect stolen weapons, and kill the people who beat you. To do this, follow your minimap to see which way the O'driscolls are looking. After you have dealt with them, jump on the horse. Drive your horse as if your life depends on it. You can also run yourself - we went to the South-East, and it ended with a screensaver of the horse that came to our aid.
Arthur was in a very pitiful state. Fortunately, your partners found you, helped you, and put you to bed. Oddly enough, Dutch also returned to the camp.
Gold medal Checklist:
- Release yourself and perform an independent operation within 1 minute;
- Take your weapons from O'driscoll's camp;
- Kill members of the O'driscoll gang who hit and shoot you;
- Arrange an escape from O'driscoll's camp without being seen.
Short walk through the beautiful city
Go to bill in Rhodes to start this mission. He says he, Sean, and Micah were waiting for you. Go down the main street with them. Arthur will have a bad feeling, but before you know what's wrong, Sean will be shot out of nowhere.
It was a trap. Everyone runs away, and Arthur angrily yells at bill to hide behind the cart. They will soon discover that most of the enemies are hiding in the gun store. Go to the West side of the gun store to find the back door, and kick it.
Once inside, return to the front of the store, using the walls and Windows as cover. Kill several attackers, then they will start running.
Mika will take to the streets and begin to fight with the Sheriff. Don't forget to finish looting before you approach them - then you won't be able to.
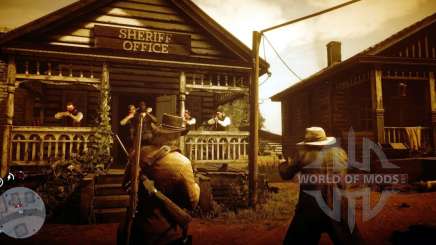
Use the Dead Eye to kill them-shoot the main one who has bill as a hostage.
As soon as bill is safe, the three of you will take poor Sean's body and leave. Arthur is incredibly angry and tells Mika to get out of sight. After completing this mission, Rhodes will be blocked. Beware of going back there.
Gold medal Checklist:
- Kill 3 lawyers with the Dead Eye, saving bill;
- Complete the mission within 4 minutes 30 seconds;
- Take 20 shots to the head;
- Complete the mission without any health recovery items.
Blood feud, past and present
Go to the Datch in the camp to start completing the mission in the game RDR 2. Everyone is afraid for Jack. This is the boy you used to go fishing with, and he's gone missing. Immediately, everyone in the camp comes together to find him. There are clues pointing to the Braithwaites as criminals, so you go to the manor.
Along the way, Dutch and the others flippantly discuss what happened in Rhodes, but in the end everyone remains focused on saving Jack.
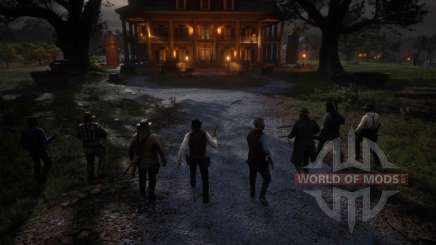
Keep under cover of the old car and follow Dutch's instructions. Follow Dutch with John and Hosea. Dutch wants you to find both Catherine Braithwaite and Jack. Your task is to search the rooms on the left.
There is a person hiding in the back room on the left - so be prepared after you open the door. After taking care of it, go upstairs, where Dutch and your team are trying to break into the room. Before they can get inside, reinforcements will arrive from all sides.
Fortunately, you have a pretty good vantage point from the balcony of the manor. Lean on poles for shelter-the railing is not ideal. After dealing with them, help John at the door on the East side of the balcony.
When you two break down the door, you break into the room to find Catherine Braithwaite and several of her sons. Dutch threatens her and drags her down while the others kill her remaining adult sons and set fire to her estate. When you walk out into the street with the manor house burning in the background, Catherine will break down and tell you where Jack is. It was given to Angelo Bronte, and it is most likely in Saint Denis.
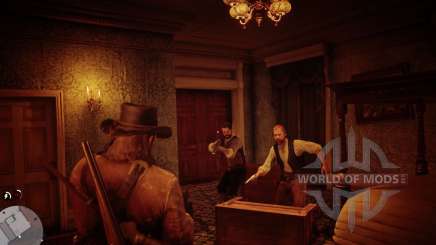
No one has such a desire - everyone is preparing weapons. The detectives leave, calling them fools, telling them that they will return with 50 men, and all will die.
In response, the Dutch advises everyone to get together - the team moves to the camp, this time shady Belle. The next mission automatically starts after this decision.
Gold medal Checklist:
- Shoot Gareth and Gerald Braithwaite in the head;
- Take 20 shots to the head;
- Complete with at least 85% accuracy;
- Complete the mission without any health items.
Battle for shady Belle
This mission automatically begins after completing the Blood feud missions in the past and present of the RDR 2 game. Follow John to shady Belle. You explore it to see if it is free of Lemoyne riders so that you can move your gang there.
When you arrive, leave the horses behind and go to the entrance. It turns out that the camp is occupied by riders again.
Fortunately, this is an easy fight. There are two at the entrance, several at the bottom, and one in each room upstairs. One of them is lying in bed, hurling insults at you, and the other has brought a knife to the shooting. Take one of the bodies upstairs and bring it with you. You will need to throw two bodies into the swamp in 1 minute 40 seconds, and this will save you precious time.
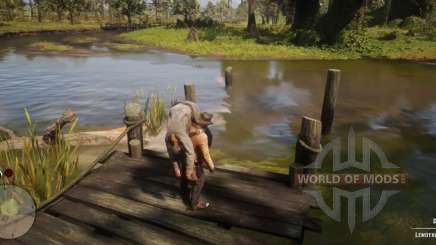
Gold medal Checklist:
- Kill all Lemoyne riders in shady Belle;
- Throw out two bodies within 1 minute 40 seconds;
- to be Completed within 11 minutes.