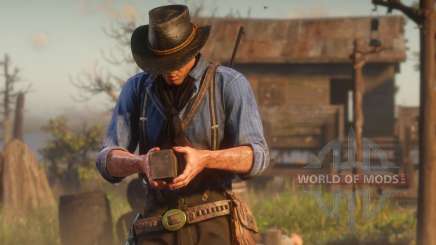
In the game Red Dead Redemption 2, you can take photos of the world around you and take selfies. The camera will be available during the main story, starting with the second Chapter, when the gang is camped in Horseshoe Overlook.
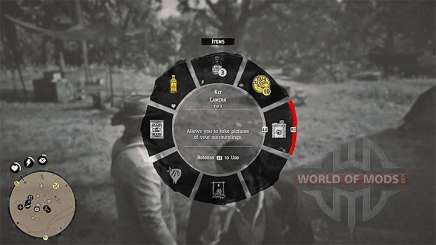
You can select a camera by opening the Items tab in your inventory. It is located in a slot that can be taken by binoculars by default. To do this, click on one of the triggers, and the current active element will change to the camera.
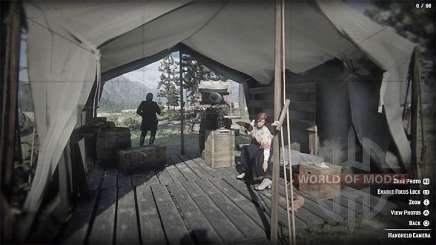
It has two main modes. One of them is needed for normal photos. You can change the zoom and adjust the focus.
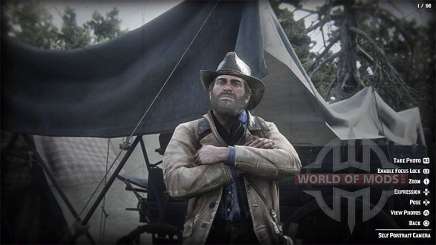
With the other, you can take a selfie, but the camera must be on the ground. In addition to the main settings, the character can pose for a photo.
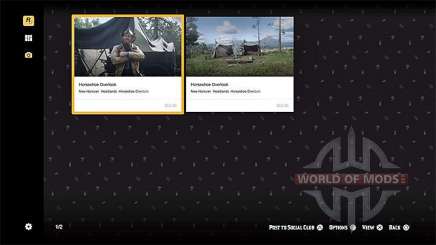
Each photo can be saved, the memory is designed for 96 photos. If you want to share your photos with other players, just send them to Rockstar Social Club.
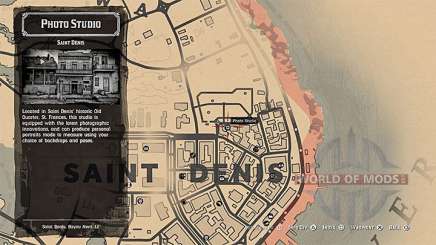
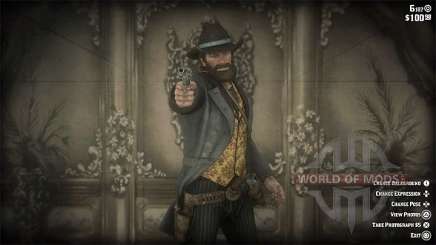
If you want to take a professional photo, you can visit the photo Studio at Saint-Denis. This pleasure will cost only $5. You can also set the settings yourself.
In addition to the camera that Arthur uses, the player can also take photos while completing missions. To do this, put the game on pause and press F6. This will immediately open a menu with various settings.
You can not only adjust the zoom of the photo or adjust the color scheme. The camera can be rotated and moved in relation to the main character. You can also change the focus, create a blur effect, adjust contrast, and set filters. You can store your saved photos in your Social Club account.
